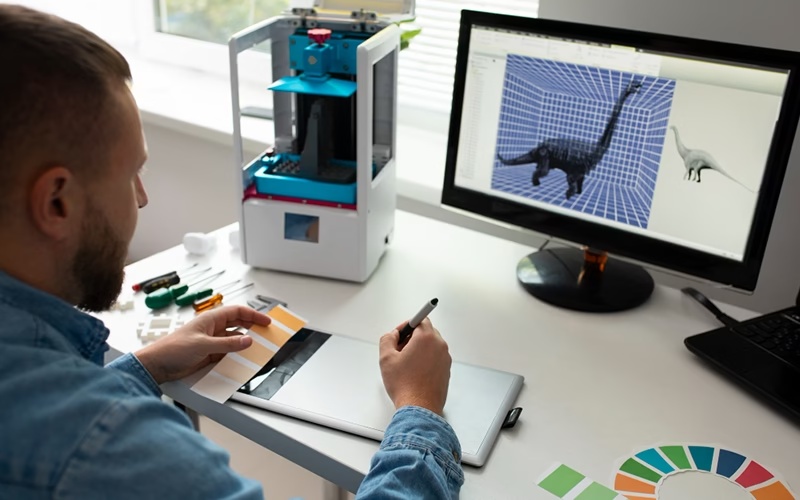
3D animation consists of creating three-dimensional objects that can move and transform in a digital space. Today, we find it in movies, video games, advertising and architectural design. The fascinating thing is that, with the right tools and some practice, you too can create entire worlds from scratch.
3D Animation Basics
Before diving into the software, it’s important to understand some key differences. While 2D animation works with drawings on a flat plane, 3D operates with volumetric objects in three-dimensional space.
Some terms you need to know:
- Modeling: Creating the shape of 3D objects.
- Texturing: Adding color and detail to surfaces
- Rigging: Creating a “skeleton” to be able to animate characters
- Rendering: Process the scene to obtain the final image or video.
A typical 3D animation project follows this flow: conceptualization → modeling → texturing → rigging → rigging → animation → lighting → rendering. Don’t worry if it sounds complicated now; we’ll break it down step by step.
Software for Beginners
My recommendation to start with is Blender. It is completely free, powerful and has a huge community willing to help. Also, the latest versions have significantly improved its interface, making it more beginner friendly.
Other options include:
- Clara.io: Works in the browser, perfect if you don’t want to install anything.
- Maya: Industry standard, offers a free student version for three years
- Kinema 4D: Known for its smoother learning curve
- 3DS Max: Popular in architecture and video games
If you have no previous experience, I recommend starting with Blender. It’s free, powerful and there are tons of tutorials available.
First Steps in 3D Animation
When you open Blender for the first time, you will notice a lot of buttons and options. Don’t panic. Start by familiarizing yourself with the basic navigation:
- Orbit: Hold down the middle mouse button and move.
- Zoom in: Rotate the mouse wheel
- Move the view: Shift + middle mouse button
The first thing you will see is a cube. This will be your practice canvas. Try selecting it (right click), moving it (G key), rotating it (R key) or scaling it (S key).
Basic Modeling
Modeling is like digital sculpting. It starts with simple shapes that you can then manipulate. In Blender, for example, you can:
- select a cube face (press Tab to enter edit mode) 2.
- Extrude it (E key) to create new shapes.
- Subdivide it (Ctrl+R) to add more details.
For practice, try creating a simple snowman: three spheres (Shift+A to add a sphere) of different sizes stacked together. Keep your models simple at first; complexity will come with practice.
Object Animation
Animation consists of creating changes over time. The fundamental concept here is keyframes. They work like this:
- Place your object in the starting position.
- Set a keyframe (I key in Blender)
- Move the timeline further forward.
- Change the position, rotation or scale of the object.
- Set another keyframe
Congratulations! You have created your first animation. The software will automatically calculate the intermediate movements between your keyframes.
Try something simple: bounce a ball or spin a cube. Remember to apply basic principles like “squash and stretch” for more realism.
Adding Materials and Textures
Materials define how your object interacts with light. To add a basic material:
- Select your object.
- Go to the materials panel
- Create a new material and adjust its properties (color, brightness, etc.).
Textures add visual details. They can be images or patterns that are applied on the material. For a basketball, for example, you would use an orange texture with black lines.
Lighting is crucial for realism. Start with a main light and add secondary lights to eliminate harsh shadows.
Rendering for Beginners
Rendering is the final process where the computer calculates how your scene looks, considering geometry, materials, textures and lights.
In Blender, you can render by pressing F12. For a complete animation, you will need to set up
- Resolution (e.g. 1920×1080 for HD) 2.
- Output format (MP4, PNG sequence, etc.)
- Range of frames to render
The first rendering may take some time, especially on older equipment. To save time during the testing phase, work with lower resolutions.
Learning Resources
For further improvement, I recommend these resources:
- YouTube channel “Blender Guru”: His donut tutorials are legendary.
- “CGCookie”: Structured lessons for all levels.
- BlenderArtists Forum: Perfect for solving specific doubts
- Book “Blender For Dummies”: Excellent physical reference
My advice: focus your learning on a specific aspect that interests you (character modeling, animation, visual effects) instead of trying to master everything at once.
Conclusion
Getting started in 3D animation requires patience, but the results are worth it. Start with small projects like animating a bouncing ball or creating a simple character. With each project, you will learn new techniques and develop your own style.
My last piece of advice? Don’t compare yourself to experienced artists. We all start from scratch. The important thing is to enjoy the creative process and celebrate each small step forward.

